Defining segments for a Conventional Gait Model
Visual3D BasicsUnit 1:Building your first biomechanical model Chapter 5: Defining segments for a Conventional Gait Model We don’t always have […]
Visual3D BasicsUnit 1:Building your first biomechanical model Chapter 5: Defining segments for a Conventional Gait Model We don’t always have […]
Chapter 4: Defining segmentsA biomechanical model in Visual3D is made up of a series of segments. In this chapter, we […]
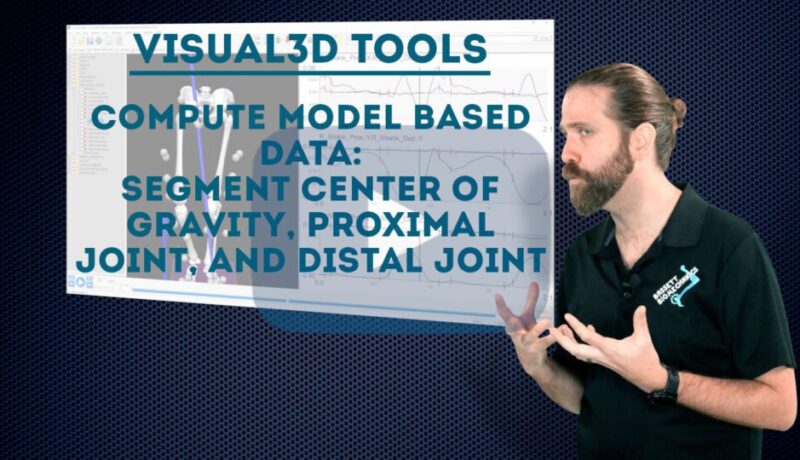
One of the key features of Visual3D is the ability to track landmarks accurately. However, as you build your pipelines, you may be interested in knowing the relative position of a point on a segment. In this tutorial, we show you how to use Compute Model Based Data to obtain the coordinates of the center of gravity, proximal joint, and distal joint of a segment. We also show you how to do this with respect to another segment, and show you some tricks by creating virtual segments in your biomechanical model.
When dealing with vector-based calculations between segments in biomechanics, understanding resolution coordinate systems is essential. Differing from Cardan Sequences and Euler Sequences, using a resolution coordinate system uses all the axes in the chosen segment. In this tutorial, we explain how these biomechanical principles apply to Visual3D.
When dealing with vector-based calculations in Compute Model Based Data, segment coordinate systems are important to apply correctly. In this tutorial, we explain how to use different segment coordinate systems to obtain your data defined in exactly the way you want.
This video shows how to use commands in Visual3D to set a subject’s height and mass when executing a pipeline. This makes it easy to use the same biomechanical model on multiple subjects.
This tutorial walks you through the Visual3D pipeline commands for automatically applying a model to a static trial and then assigning it to dynamic trials.
Once you’ve established the steps in your Visual3D workflow, you can automate the entire process through a pipeline. This not only saves time compared to manually completing the steps but it also reduces the potential for user error.
This video walks you through a typical workflow in Visual3D: opening motion files, adding calibration files, defining segments, applying models, processing, creating reports, and outputting data.
This tutorial shows how to define a landmark based on an existing target. This allows you to track an anatomical point from the static trial in dynamic trials as well, even if there is no physical marker at that location.