Pipeline Commands: Select Active File
This tutorial explains how to select active files as an automatic step in a Visual3D pipeline. This allows you to test different parameters on different files within the same pipeline.

A series exploring the many options available in Visual3D and showing how to use the tools to get the most out of your data.
For more information or to request a topic visit the Visual3D Tools main page.
This tutorial explains how to select active files as an automatic step in a Visual3D pipeline. This allows you to test different parameters on different files within the same pipeline.
Keeping your files organized by tags makes it easy to find and work with them in Visual3D. In this tutorial, we show you how to automatically apply tags to C3D files from the pipeline.
This video shows how to use commands in Visual3D to set a subject’s height and mass when executing a pipeline. This makes it easy to use the same biomechanical model on multiple subjects.
This Visual3D tutorial introduces a simple pipeline parameter for defining a folder and shows you how to reference that parameter in the File_Open command.
This tutorial walks you through the Visual3D pipeline commands for automatically applying a model to a static trial and then assigning it to dynamic trials.
In this tutorial, you’ll learn how to automatically open and rename files as part of a pipeline in Visual3D. You’ll also learn how to use the “Step” button to execute single commands in order to check your work as you go.
This tutorial shows you how to create a simple pipeline in Visual3D. Pipelines are a series of commands that you can set up to automate processing. In this video, you will learn how to create a new pipeline, add and remove commands from it, and execute it.
This tutorial shows how to define a landmark based on an existing target. This allows you to track an anatomical point from the static trial in dynamic trials as well, even if there is no physical marker at that location.
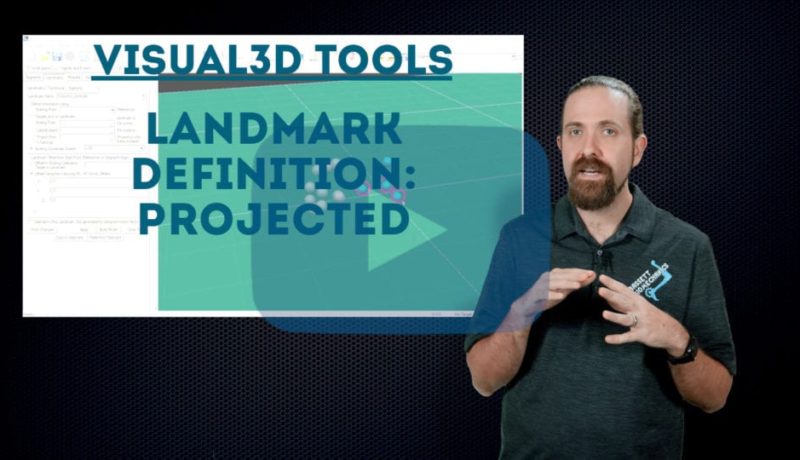
This tutorial shows how to define a landmark in Visual3D by projecting an existing landmark or target onto a plane. This is useful, for example, in tracking the motion of a subject’s center of mass with respect to the floor.
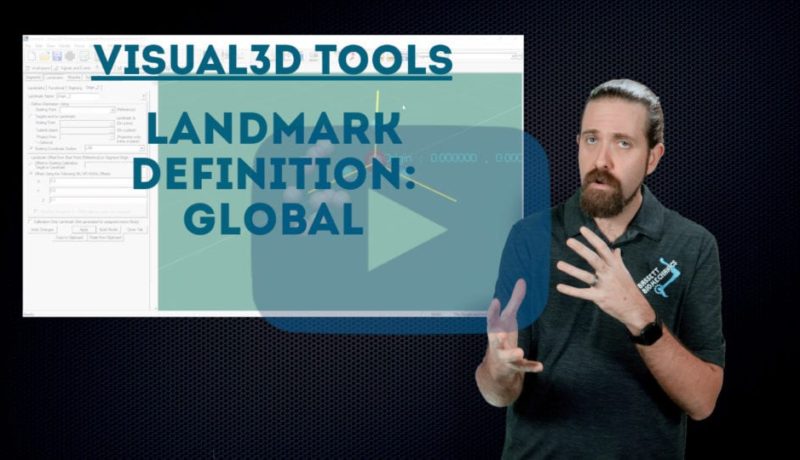
This video shows how to define landmarks in Visual3D using your lab’s global coordinate system. A landmark is defined by its X, Y, and Z offsets from the lab’s origin point; this can be especially useful in creating a virtual lab.